



The SVG Support feature from Wow Elements Pro allows you to safely upload and use SVG files within your WordPress media library. It enables you to add scalable, high-quality vector graphics to your website while maintaining optimal performance and design flexibility. With easy integration into your workflow, you can enhance your visuals without compromising speed or quality. This documentation will guide you through how to enable and use the SVG Support feature in Wow Elements Pro.
Uploading SVG Before Enabling the SVG Support Feature #
Media Tab #
Go to WP Dashboard → Posts
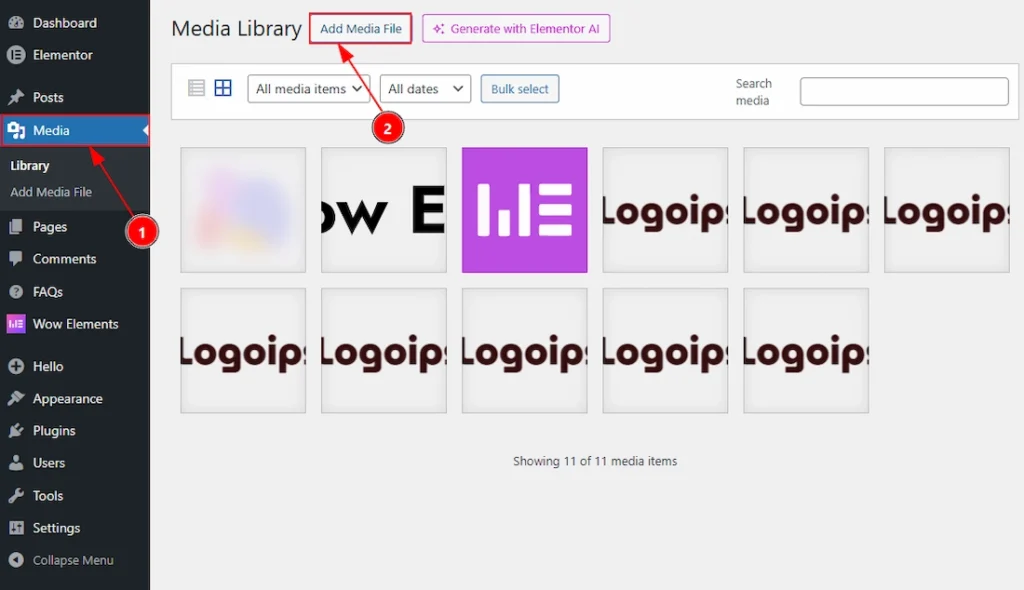
1. Go to the WP Dashboard and then click on Media.
2. After that, click on the Add Media File option to add the SVG image/icon that you want.
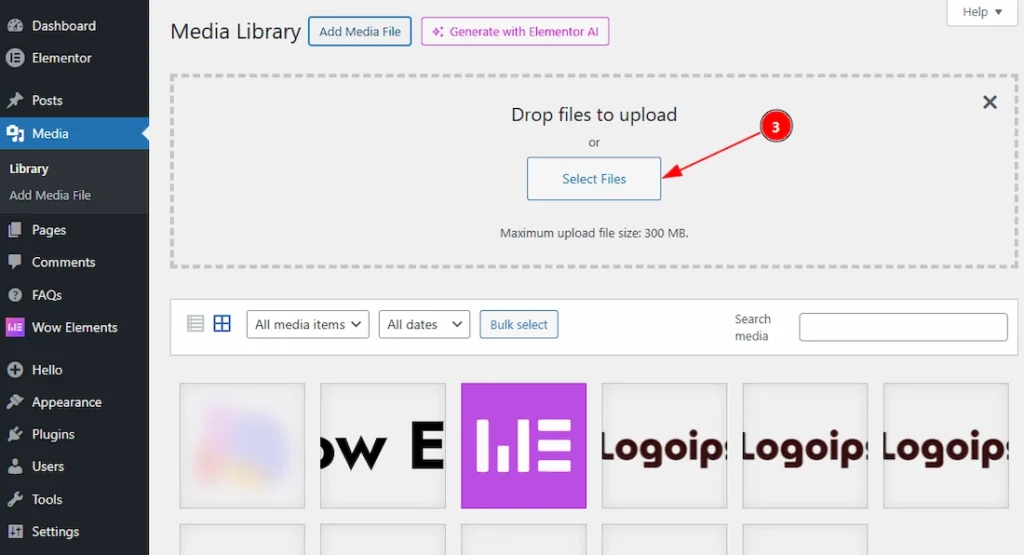
3. Now, click on the Select files as you want to upload the SVG Image/Icon from your local.
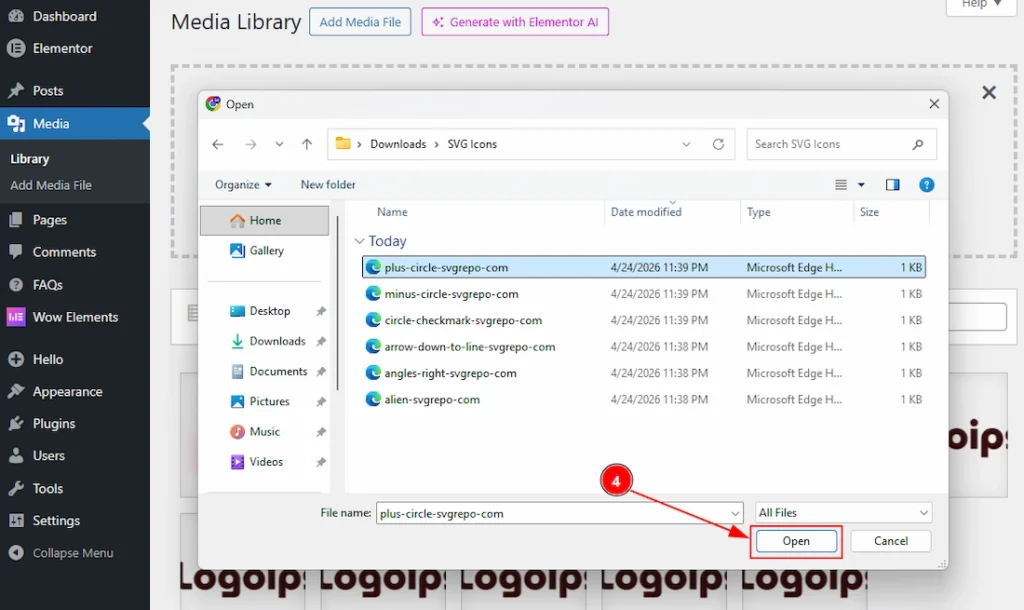
4. After clicking on the select files option, a pop-up will appear to let you choose the media files that you want to add to the media. Here we have selected a plus circle SVG icon.
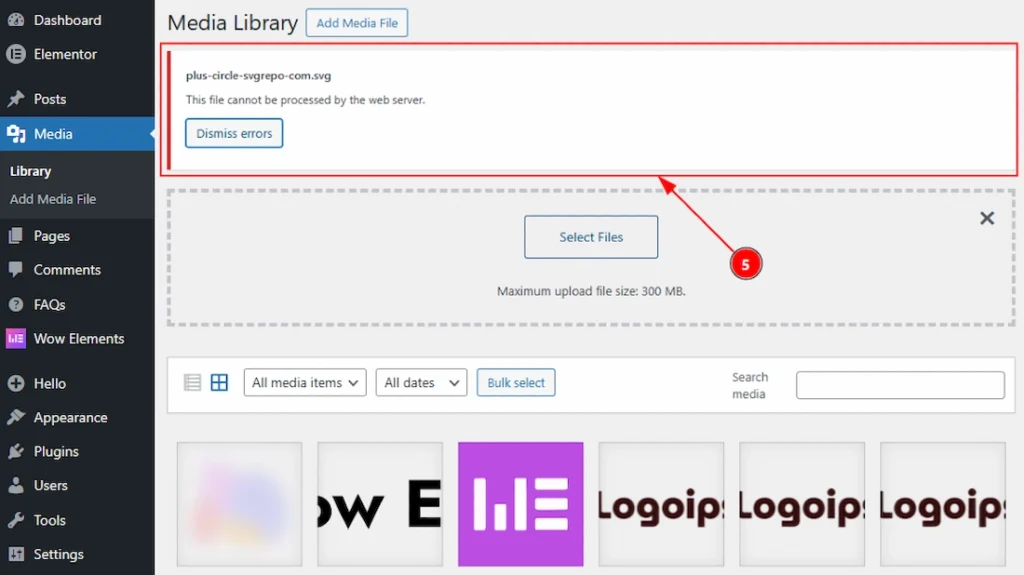
5. As you haven’t enabled the SVG Support feature from the Element Pack, you will receive an error instead of uploading the SVG files, with a notification that this file can not be processed by the web server.
Enable The SVG Support Feature #
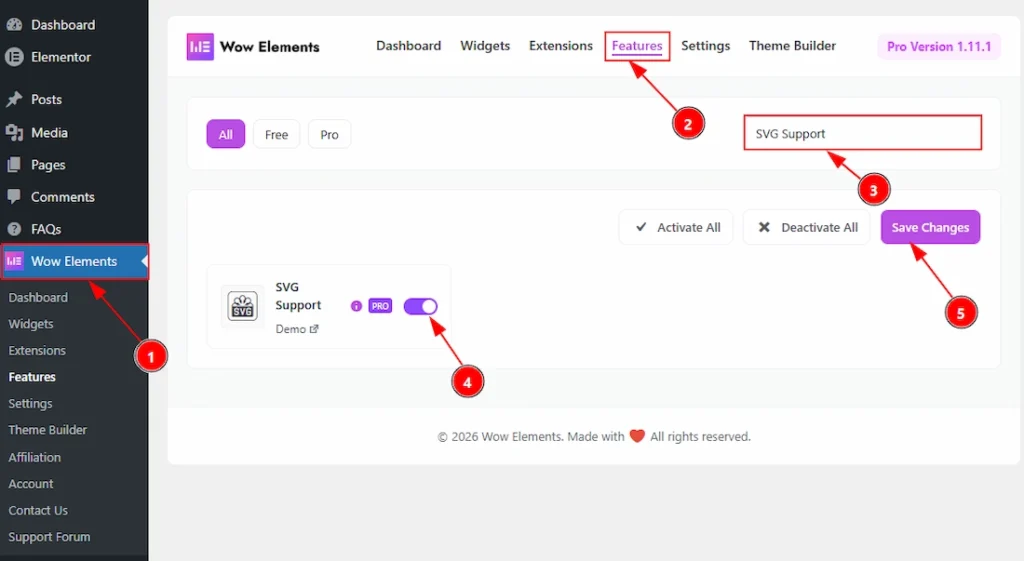
To use the SVG Support Feature from Wow Elements Pro, first, you have to enable the feature.
- Go to WordPress dashboard → Wow Elements Plugin dashboard.
- Then, Click the Features Tab.
- Search for the SVG Support feature.
- Enable the SVG Support feature.
- Hit the Save Settings Button.
Uploading SVG After Enabling the SVG Support Feature #
Media Tab #
Go to WP Dashboard → Media
1. Go to the WP Dashboard and then click on Media.
2. After that, click on the Add Media File option to add the SVG image/icon that you want.
3. Now, click on the Select files as you want to upload the SVG Image/Icon from your local.
4. After clicking on the select files option, a pop-up will appear to let you choose the media files that you want to add to the media. Here we have selected a plus circle SVG icon.
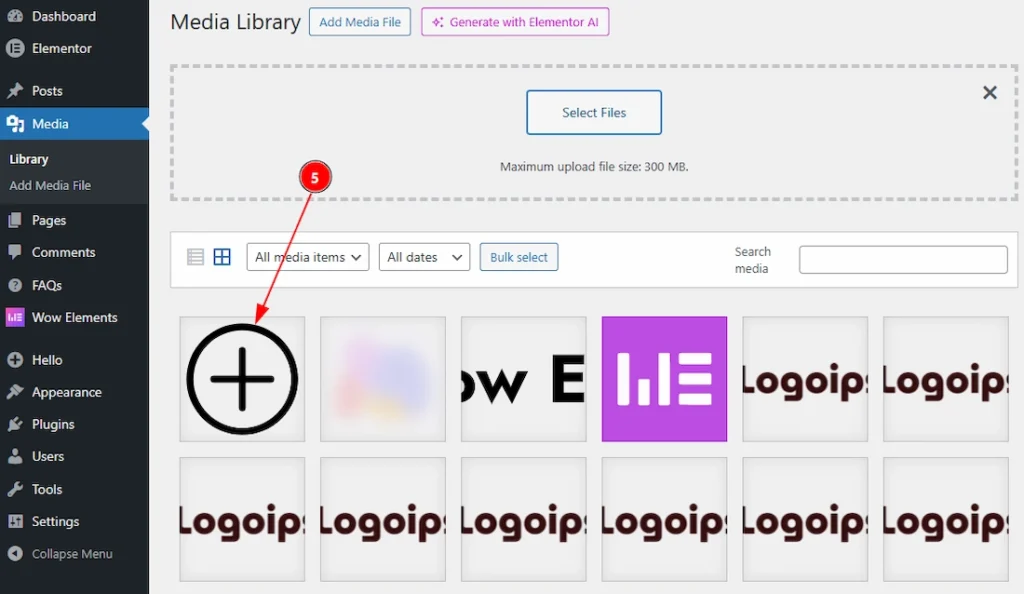
5. Now, the upload will complete, and you can easily see the SVG media between the media files.
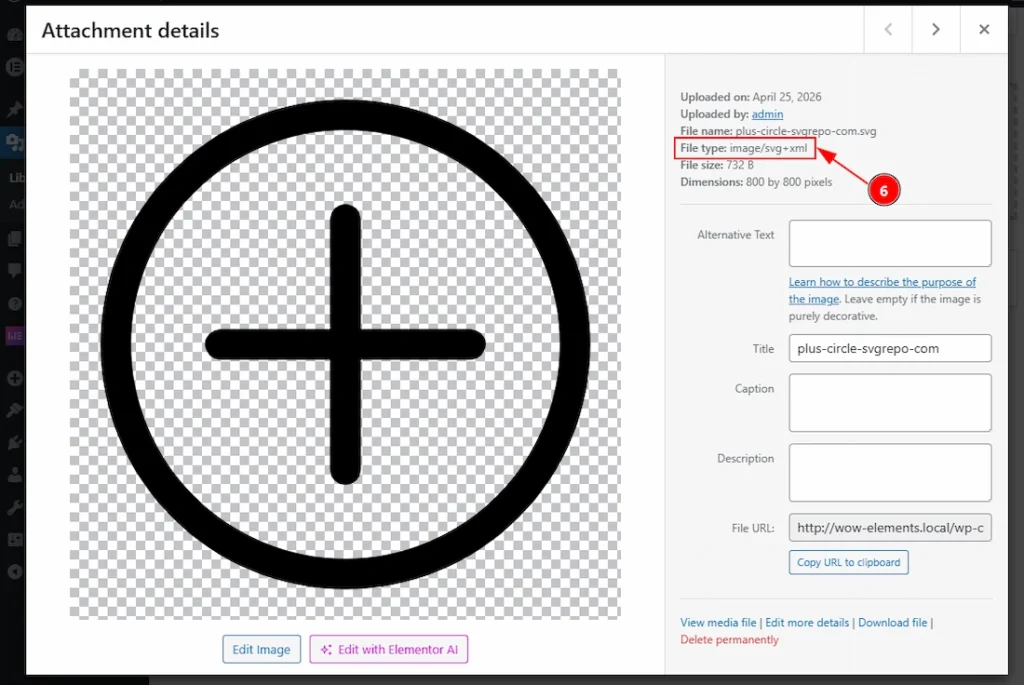
6. Click on the image to open the lightbox with its information. Here you can see the file type.
All done! This is how you can use the SVG Support feature. You can add media files to media tab and also you can directly upload the svg items on editor.
Video Assist #
You can also watch the video tutorial to learn more about the SVG Support feature.
Thanks for being with us.